Introduction
This guide teaches the reader how to replace a worn edge guard on a pickleball paddle, a task that preserves performance and extends the paddle's lifespan. By following the instructions, one will avoid costly damage, maintain consistent ball control, and enjoy smoother swings. The process requires only basic tools and a few minutes of focused effort, making it accessible to players of all skill levels. Understanding why each step matters will also help one troubleshoot future wear issues before they affect gameplay.
What You’ll Need
- New edge guard tape – recommended Amoswiz Edge Guard Tape or Srikel Edge Guard Tape
- Scissors or a precision cutter
- Isopropyl alcohol wipes or a soft cloth
- Fine‑grade sandpaper (optional, for stubborn residue)
- Flat surface with good lighting
These items are inexpensive and can be found at most sporting goods stores or online. The edge guard tapes listed are specifically engineered for pickleball paddles, offering durability, a snug fit, and a low‑profile finish.
Step 1 – Inspect Your Paddle and Identify the Problem
Begin by examining the paddle’s perimeter for signs of chipping, cracking, or missing sections of the guard. A damaged edge guard can cause uneven vibrations, reduce control, and increase the risk of the paddle’s core being exposed. If the paddle is a high‑performance model such as the Selkirk SLK Omega Pickleball Paddle, protecting the investment is especially important. Note the paddle’s thickness (commonly 13 mm, 16 mm, or 20 mm) because the tape width must match this measurement for a secure fit.
Step 2 – Remove the Old Edge Guard
Gently peel away the existing guard, starting at a corner and working slowly to avoid tearing the paddle surface. If adhesive residue remains, use an isopropyl alcohol wipe to dissolve it; this prevents future bubbling when the new tape is applied. Do not use metal tools, as they can scratch the carbon‑fiber face of premium paddles like the Selkirk model. For stubborn pieces, a hairdryer set to low heat can soften the glue, making removal easier.
Step 3 – Clean and Prepare the Paddle Edge
After the old guard is removed, wipe the entire edge with a clean cloth dampened with alcohol. This step eliminates dust, oils, and any leftover adhesive, ensuring the new tape adheres uniformly. Allow the surface to air‑dry for at least thirty seconds. If the edge feels uneven, lightly sand with fine‑grade sandpaper, then repeat the cleaning process. A smooth, clean edge is essential for the tape’s full contact and longevity.
Step 4 – Measure, Cut, and Align the New Guard
Unroll the new edge guard tape and measure the paddle’s circumference. Both the Amoswiz and Srikel tapes are supplied in extra length (79 mm per piece) to accommodate a range of paddle sizes. Using scissors, cut the tape to match the measured length, leaving a small overlap of 2–3 mm for a seamless finish. The sawtooth edge design of these tapes fits curved paddles without wrinkling, as described in their product specifications.
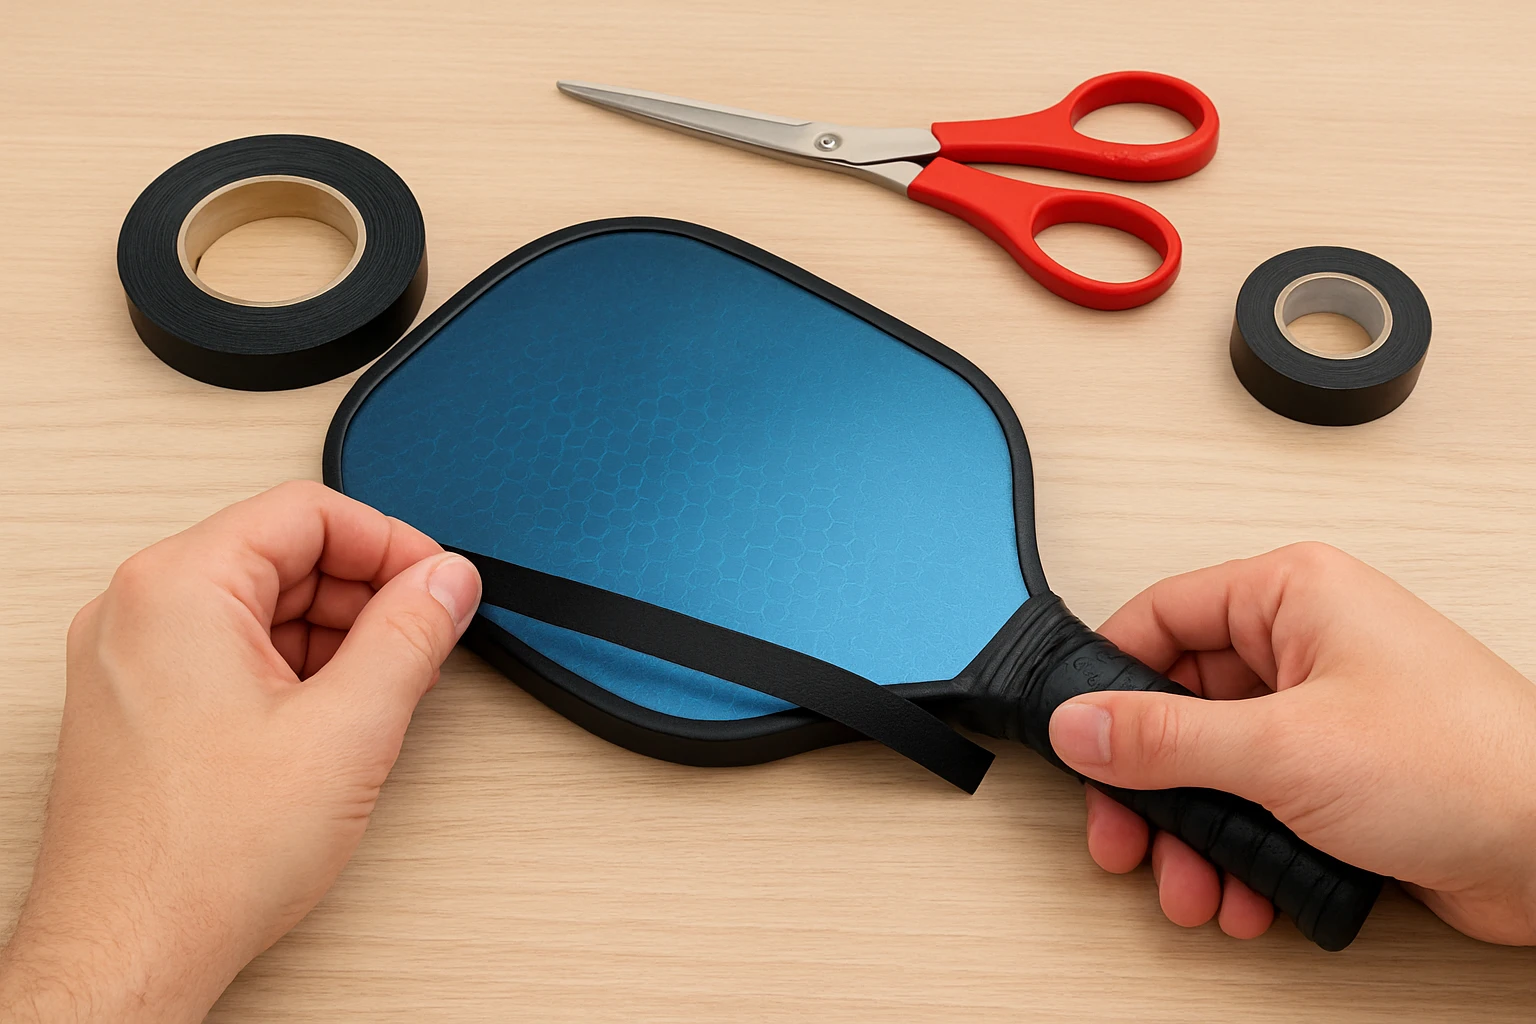
Step 5 – Apply the New Edge Guard
Position the cut piece so that the pre‑cut opening line aligns with the top center of the paddle. Peel back the backing paper from the midpoint and press the tape onto the edge, working outward toward both ends. The Amoswiz Edge Guard Tape features a laser‑silver finish that adds a reflective aesthetic while providing a thick PU layer for impact resistance. It is priced at $14.49, holds a 4.3‑star rating from 26 reviewers, and is praised for its easy installation and durability.
Alternatively, the Srikel Edge Guard Tape offers a vinyl construction with a herringbone pattern, priced at $9.99 and receiving a 4.6‑star rating from 96 reviewers. Its innovative sawtooth shape prevents bunching on curved edges, making it ideal for paddles with a pronounced bevel. Choose the tape that best matches your visual preference and budget; both provide a reliable barrier against scrapes and improve the paddle’s professional appearance.
Press the tape firmly along the entire edge, using a clean fingertip or a soft roller to eliminate air bubbles. The adhesive is designed to remain secure under repeated impact, yet it can be removed without residue if future replacement is needed.
Step 6 – Trim Excess and Secure the Finish
After the tape is fully adhered, examine the ends for any overhang. Use scissors to trim excess material, ensuring the cut aligns flush with the paddle’s edge. If the tape includes a decorative edge (such as the laser‑silver finish on the Amoswiz tape), a clean cut preserves the visual effect. Finally, give the paddle a light press along the entire guard to guarantee maximum contact.
Step 7 – Test the Paddle on the Court
Take the paddle for a short warm‑up session, paying attention to any vibration or slippage at the edge. The new guard should feel solid, with no audible creaking. If the tape begins to lift after a few minutes of play, re‑press it using a soft cloth and apply additional pressure. A properly installed guard will enhance control, reduce wear, and allow the player to focus on shot placement rather than equipment concerns.
Tips & Pro Tips
- Work in a well‑lit area to see the alignment line clearly; misalignment can cause uneven pressure and premature wear.
- When using the Amoswiz tape, avoid direct sunlight during installation, as UV exposure can affect adhesive tack.
- If you prefer a matte finish, the Srikel tape’s vinyl surface is less reflective while still offering robust protection.
- Store any leftover tape in a cool, dry place; extreme heat can degrade the adhesive over time.
- Consider applying a thin layer of sports‑grade grip tape over the edge guard for extra cushioning if you experience wrist fatigue.
Troubleshooting
Problem: Tape lifts after a few games.
Solution: Clean the edge again with alcohol, ensure the surface is completely dry, and re‑apply the tape with firm pressure. Using a roller can improve adhesion.
Problem: Air bubbles appear under the guard.
Solution: Gently lift the tape from the nearest edge, smooth out the bubble with a fingertip, and re‑press. The sawtooth design of both tapes allows for easy repositioning.
Problem: The guard does not fit the paddle thickness.
Solution: Verify the paddle’s thickness and select the appropriate width (28 mm or 30 mm for Amoswiz; multiple size options for Srikel). Cutting the tape to length without stretching it will preserve the intended curvature.
Conclusion
Replacing a pickleball paddle edge guard is a straightforward maintenance task that safeguards a valuable investment and sustains optimal performance. By following the seven steps outlined, one can confidently remove old protection, apply a new high‑quality guard, and return to the court with renewed confidence. Whether choosing the reflective durability of the Amoswiz Edge Guard Tape or the sleek design of the Srikel Edge Guard Tape, the right product enhances both protection and aesthetics. Regularly inspect your paddle, replace the guard as needed, and enjoy consistent, reliable play.
Products Mentioned in This Guide
Frequently Asked Questions
How often should I replace the edge guard on my pickleball paddle?
Replace it whenever you notice fraying, peeling, or reduced ball control, typically every 3‑6 months for frequent players.
Can I use any tape for the edge guard replacement?
Use tape specifically designed for pickleball paddles, such as Amoswiz or Srikel edge guard tape, to ensure proper adhesion and durability.
What tools are required to replace a paddle edge guard?
You only need scissors or a precision cutter, isopropyl alcohol wipes, and optionally fine‑grade sandpaper for residue removal.
Do I need to sand the paddle surface before applying new edge guard tape?
Lightly sand only if adhesive residue remains; otherwise a clean wipe with alcohol is sufficient.
Will replacing the edge guard affect my paddle’s performance?
A properly installed edge guard restores consistent ball control and protects the paddle, often improving swing feel.